Painting Buying Guide
Painting Tools Buying Guide
Choosing the Right Paint Brush
Painting your interior walls is an easy way to revamp your spaces. Anyone can do it; however, the quality of the job really depends on the paint brush you use.
In order to pick the right brush for the job, first you must know what kind of paint you’ll be working with. This is an essential part of the process, as certain paints apply better with particular brushes. For example, latex paints are best used with synthetic bristles.
At Homestore + More, we offer brushes with synthetic fiber bristles. Synthetic fibers include polyester and nylon and have many advantages over natural fibres, as they are easier to clean and there is less chance of bristle loss. What’s more, they do not swell in water so the tips stay fine, preventing brush marks in the paint.
The style of the brush can also impact on the quality of finish, as well as the time it takes to carry out the job. The style of the brush refers to the cut and shape of the brush head itself. A trim brush is a flat small brush, which is ideal for detailed and trim painting. A wall brush has a thicker, flat head which holds more paint and so is often used for painting large surfaces. An angled sash brush has bristles which are cut at an angle, perfect for painting around windows or other angled spaces.
Choosing the Right Paint Roller for a Job
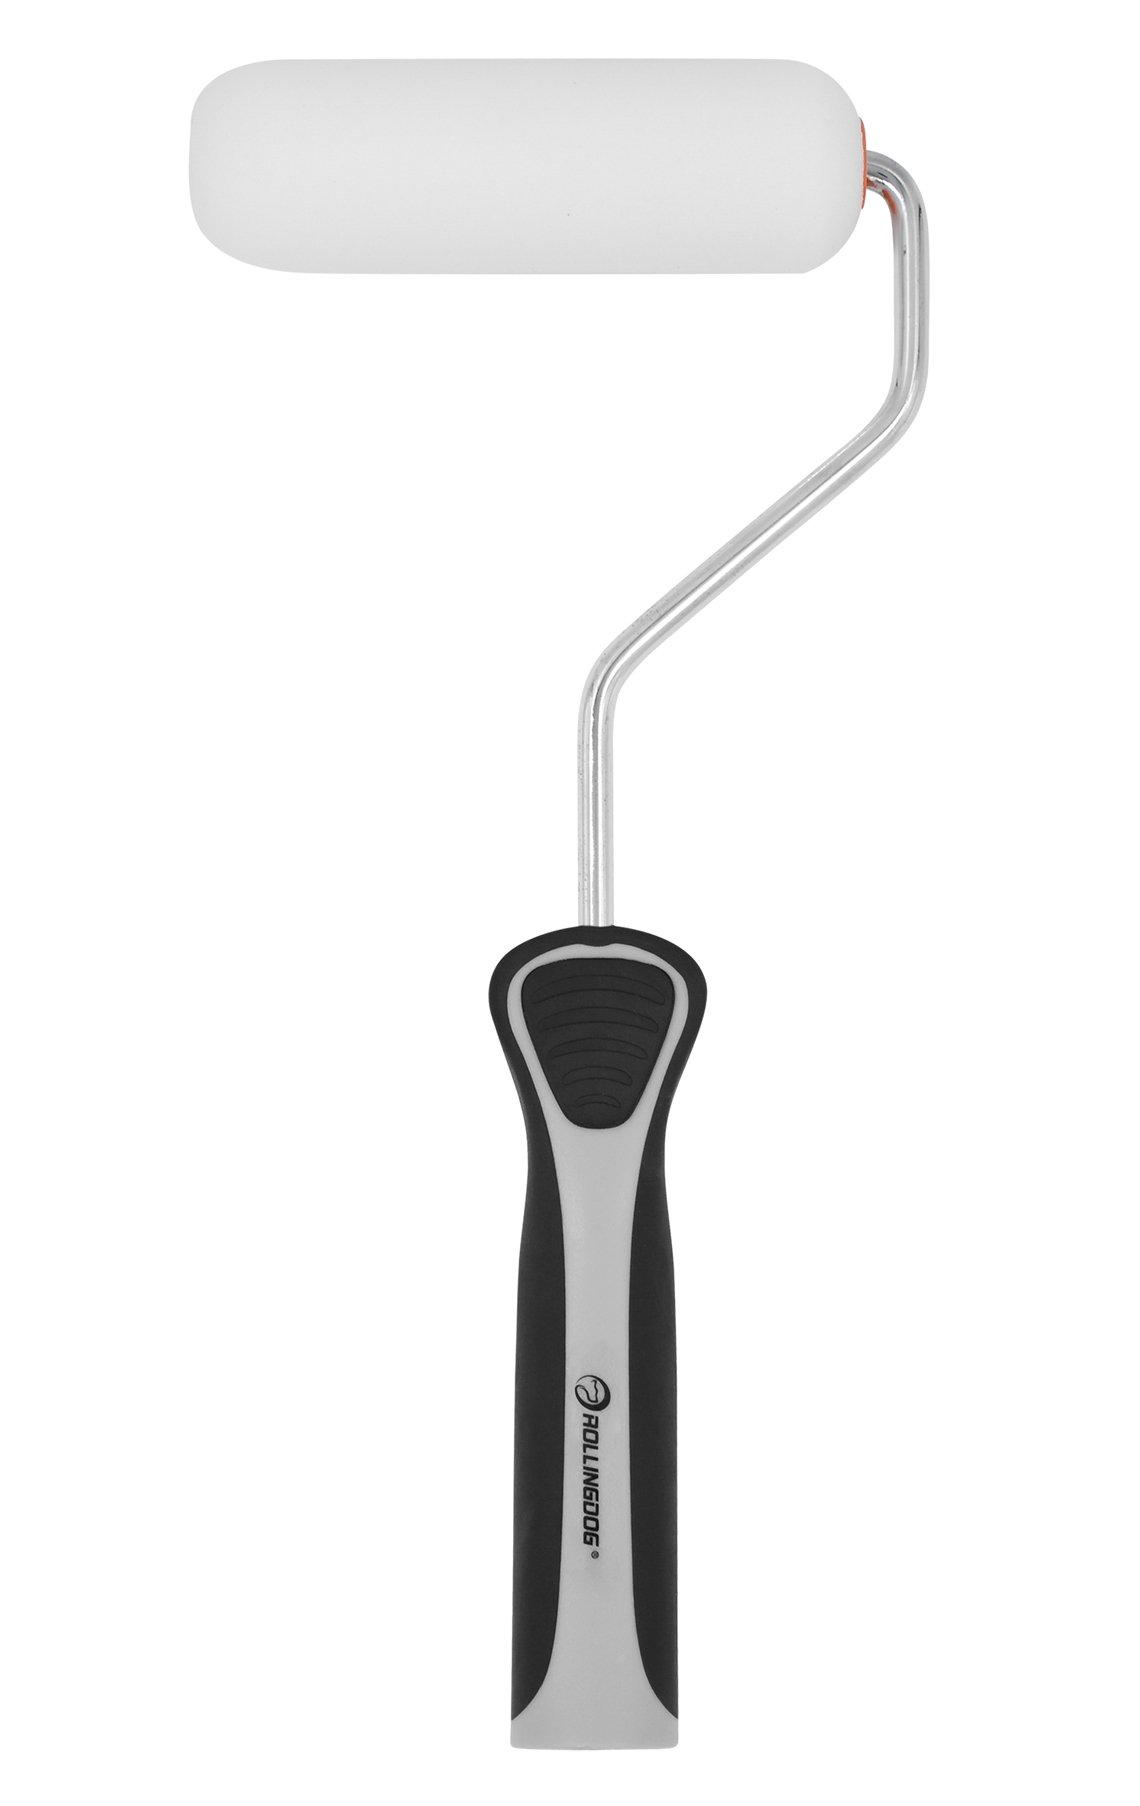
Choosing the right roller for a paint job makes all the difference. Not only will the right paint roller lead to a better, higher quality finish, it will also make the work (and clean-up) easier and quicker. Paint rollers come in all sorts of various sizes, with a variety of different covers. In order to choose the right roller, you first need to consider the size of the roller you require, the type of paint you want to use, and the kind of surface you’ll be painting.
Size is an essential element to consider when choosing a roller. Sizes of rollers vary from 50cm to 100cm. American and European rollers have a different style frame and so have different inner diameters. Therefore, it is important to know what style you’re using before purchasing roller covers.Some roller cover considerations:
Rollers come in a variety of different materials. Synthetic fibers, such as nylon and acrylic, suit latex based paints and all surface textures, while natural fibers like mohair and lambs wool should be used with oil based paints. Foam rollers are best for porous surfaces, like wood.
Nap length (or pile height) refers to the thickeness of the material on the roller cover. Generally, thicker roller naps suit rougher surfaces, while thinner naps suits smoother surfaces. The 3/8” (9mm) is a good general-purpose roller cover, for most surfaces.

How to Paint a Room

In theory, everyone knows how to paint a room. Dip a roller or brush in your paint, and spread it all over the wall. In practice however, painting efficiently and cleanly, while also achieving a high quality finish, can be challenging. By following these simple steps, you’ll be able to achieve a professional finish, without breaking the bank.
Step 1. Selecting the Appropriate Tools
Choosing the correct rollers, brushes and surface protection (drop sheets/cloths) can make all the difference when painting a room. A heavy duty paint tray will be needed to dip and load your roller if you are using one. For more information on selecting the appropriate tools please see ‘choosing the right roller’ and ‘choosing the right paint brush’.
finish, can be challenging. By following these simple steps, you’ll be able to achieve a professional finish, without breaking the bank.Step 2. Plan Your Approach
This is the key step in ensuring a neat, low mess job. This step involves moving all the furniture out of the room (or to the center) and the carpets (and any furniture left) in drop cloths. Tape should be placed around all edges, skirting boards, electrical switch covers etc. All walls should be cleaned to ensure they’re free of dust, spider webs, etc.
Step 3. Cutting In
Cutting in refers to the process of painting freehand around obstacles, or along skirting boards or door frames. Cutting in takes a bit of practice (and a steady hand!), however it is easy to learn with some experience. Load the brush by dipping the bristles about one-third of the way into the paint. Press the brush head lightly against the inner edge of the paint can/tray, using it to wipe off any excess paint. Try making long, smooth strokes with the brush in order to avoid brush marks or streaks.

Step 4. Painting with a Roller
Put your roller cover on the cage. Stir your paint thoroughly and pour about half an inch into the well of the tray. Dampen your roller cover, using water from a spray bottle. Roll the roller down the slope of the paint tray, into the paint well (properly loading the roller reduces drips and spatter, while improving coverage). For best results, paint in an ‘M’ pattern, followed by horizontal strokes moving from the top of the ‘M’, to the bottom. Repeat these steps, working in small sections, from dry to wet areas, overlapping each time.
Step 5. Paint the Trim
Once the walls are dry, remove the tape from the trim slowly and evenly, making sure not to pull up any paint. (Top Tip – Blasting the tape with a hair dryer before taking it off loosens the tape bond, stopping it sticking to the finish). Once this is done, tape around the trim, before beginning painting. Start with the trim closest to the ceiling and work your way down, ensuring to finish the door and window frames, before moving onto the skirting boards. Minimise your brush strokes, and make sure to avoid over working the paint.
Step 6. Cleaning Up
Brushes and roller covers are costly, yet they can be used many times once they are cared for properly. To ensure they remain useable, they should be cleaned immediately after the job is completed. Leave the bristles to soak in water or paint solvent, before rinsing and drying them with a clean rag. Wrap the clean brush in plastic wrap or in its original packaging, in order to keep the bristles straight.
