How to Decorate a Christmas Tree
1. Choose the right Christmas Tree
2. Fluff and Shape Branches
Work from the bottom up, beginning with the lowest branches and moving systematically towards the top of your tree.
Gently separate each individual branch tip by pulling them apart with your fingers, creating space between the artificial needles to mimic the natural growth pattern of a real tree.
Fluff each section outward and upward, rotating the branches in different directions to create depth and dimension
Pay special attention to the inner branches, pulling them forward to fill any gaps and create that coveted full appearance that makes artificial trees look authentically lush.
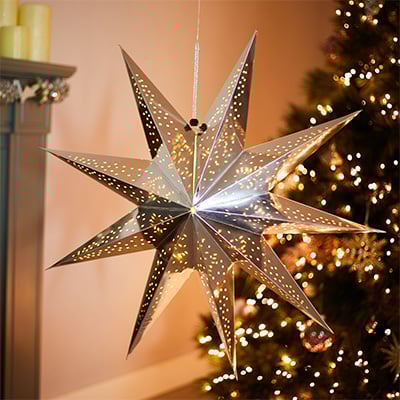
3. Choose Your Theme

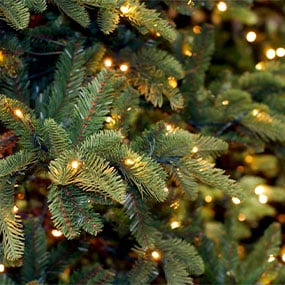
4. Start with Christmas Tree Lights
Test your lights before hanging to avoid frustration, and always plug in each section as you go to ensure everything works perfectly
Begin stringing your lights from the bottom of the tree, working your way up in a spiral motion around each branch, weaving the lights both over and under the branches to create depth and dimension.
Push lights deeper into the tree near the trunk, then bring some forward to the tips of branches, creating layers that make your tree sparkle from every angle.
Once you reach the top, step back and adjust any sparse areas by redistributing lights evenly.


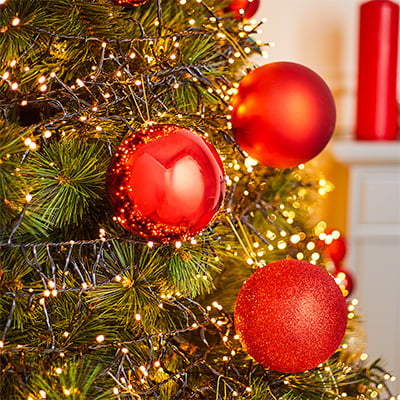
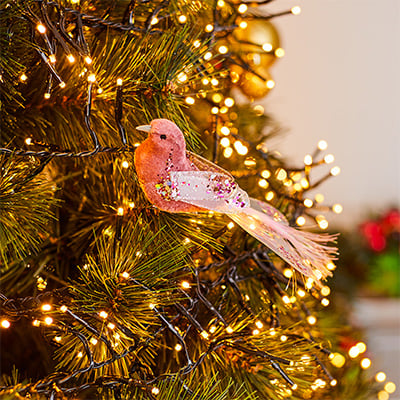
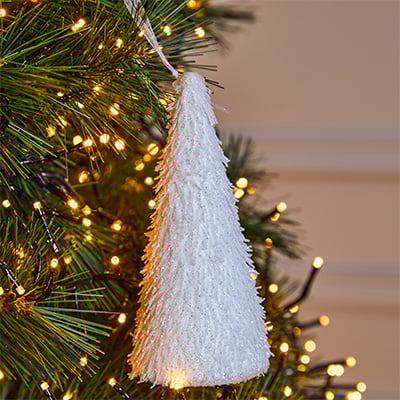
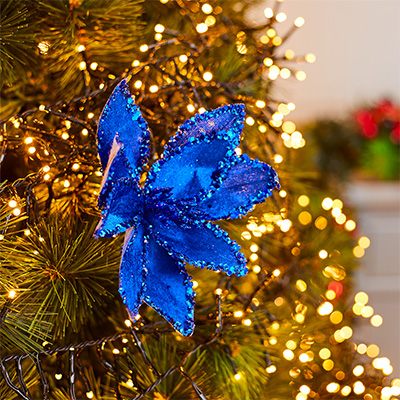
5. Place Christmas Baubles & Ornaments


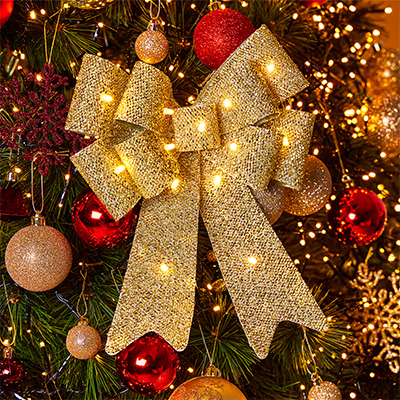
6. Place Picks & Christmas Bows


7. Fill Gaps
Start by stepping back and identifying sparse areas where branches appear thin or gaps are visible between sections.
Take your tree picks – these flexible, branch-like additions are your secret weapon for achieving that perfect, full look.
Gently insert each pick into the gaps, pushing them deep enough into the tree's framework to ensure they stay secure.
Work from the inside out, filling the most noticeable gaps first before addressing smaller spaces.
Rotate around your tree as you work, maintaining balance and ensuring even coverage from all angles.

